Gallery, Tips & More
Here are reviews on some of my kits complete with painting and building suggestions (love the thatched roof) on Gabriel's TableTopTitans website:
- Rail Fence: http://www.tabletoptitans.com/reviews/0005.php
- The Red Whale Inn: http://www.tabletoptitans.com/reviews/0006.php
- The Stables: http://www.tabletoptitans.com/reviews/0007.php
- The Stables - Main Building: http://www.tabletoptitans.com/reviews/0008.php
- Customized War Wagons: http://www.tabletoptitans.com/reviews/0009.php
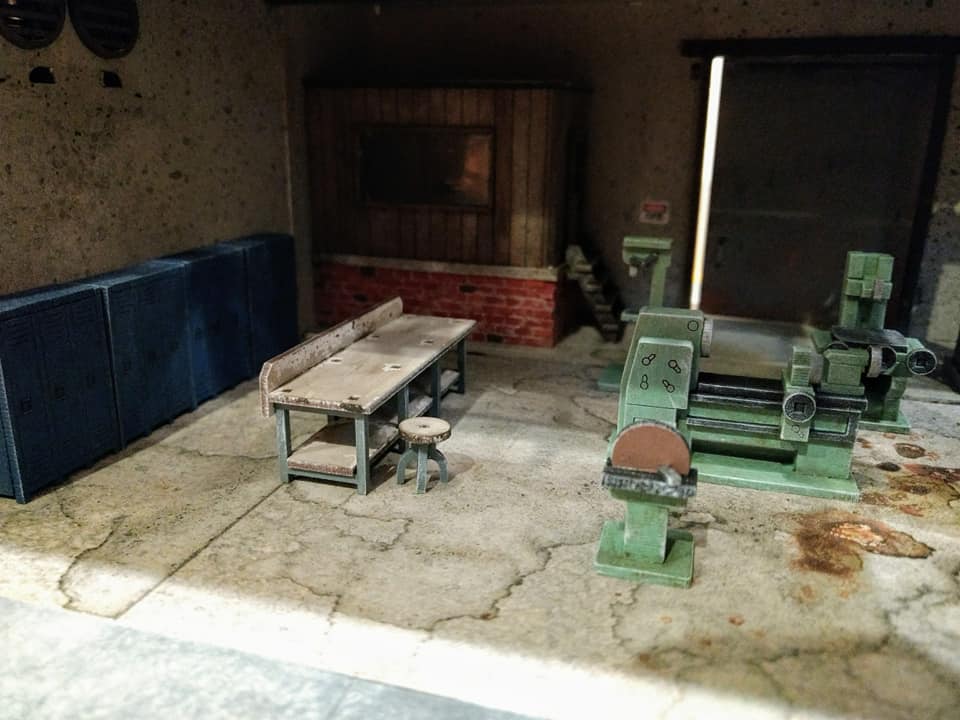
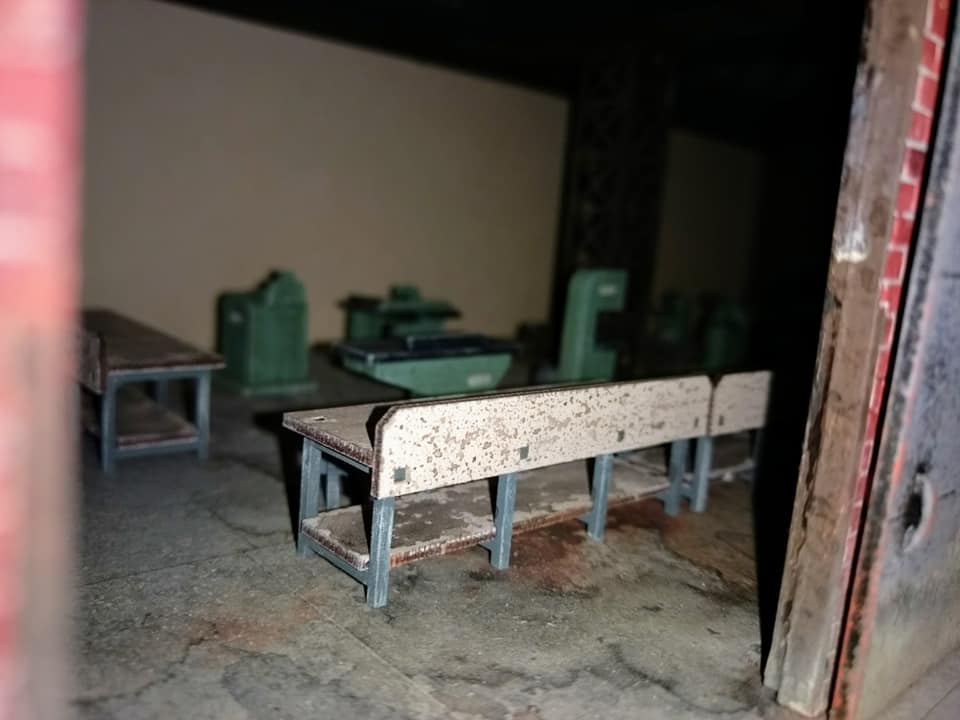
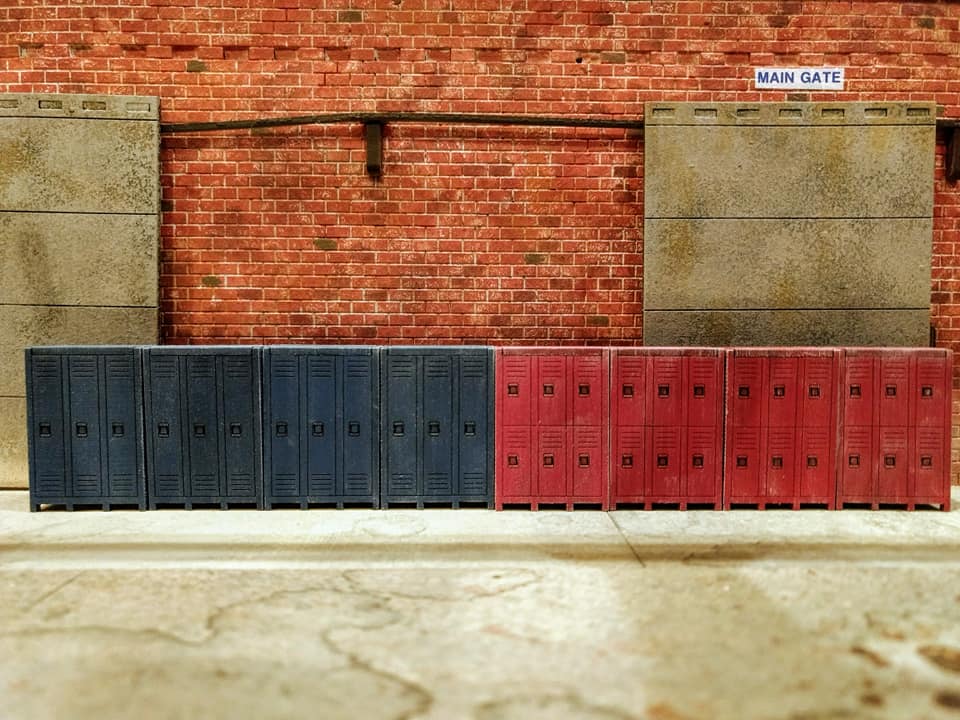
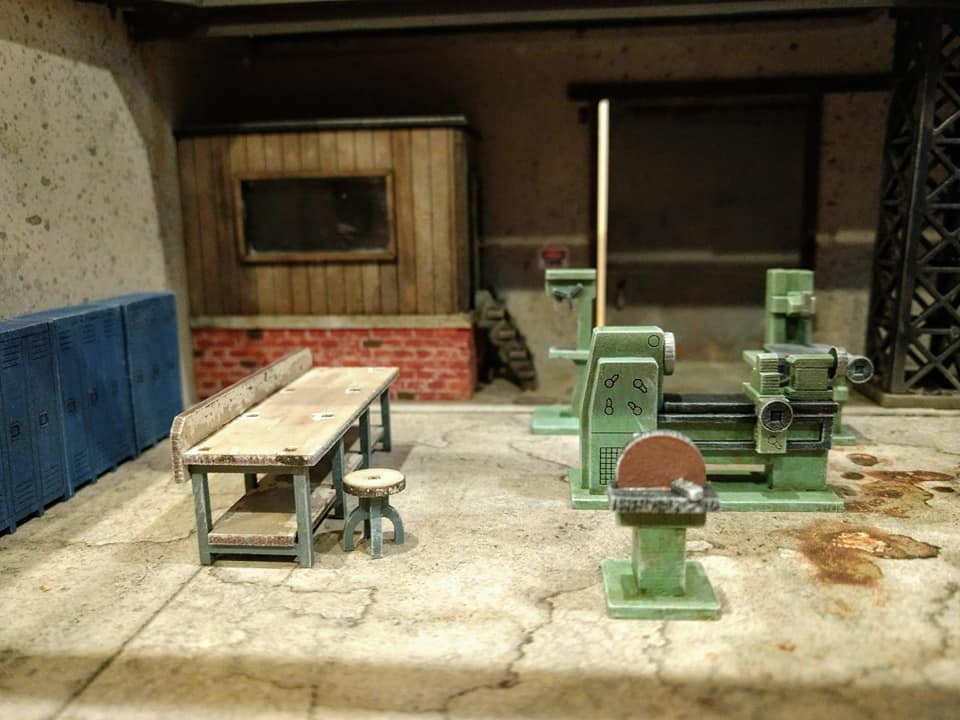
Industrial impressions
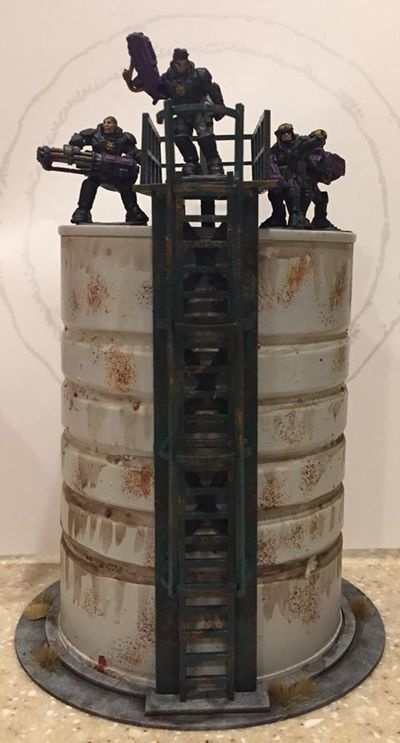
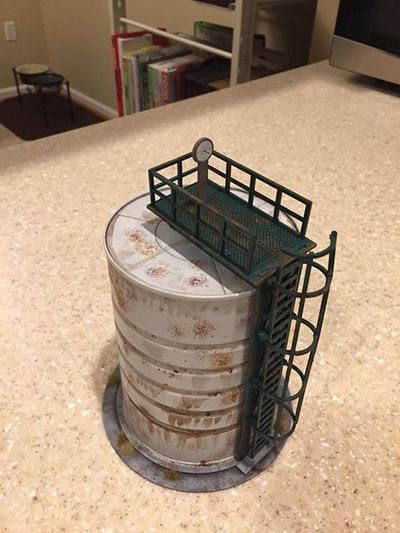
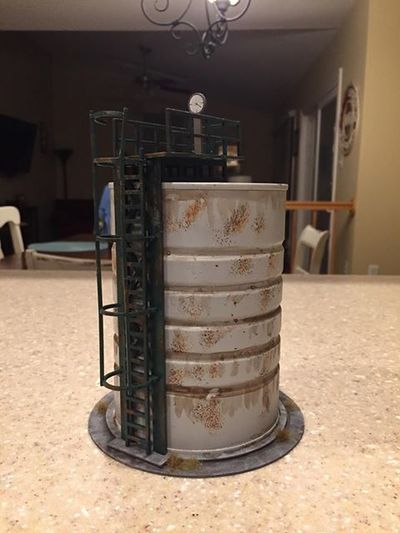
Dennis J. has build and painted the Storage Tank (figures are from the Reaper Bones range). Great for Necromunda, Warhammer 40K or any other Sci Fi setting!
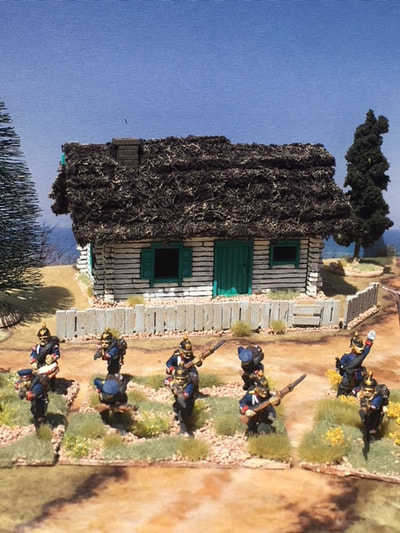
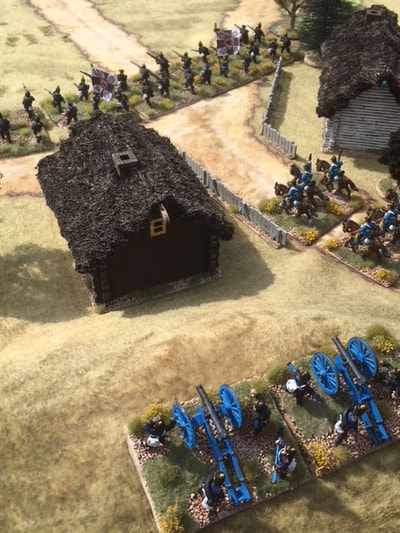
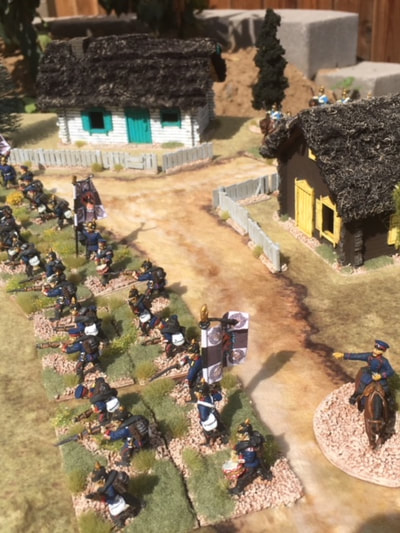
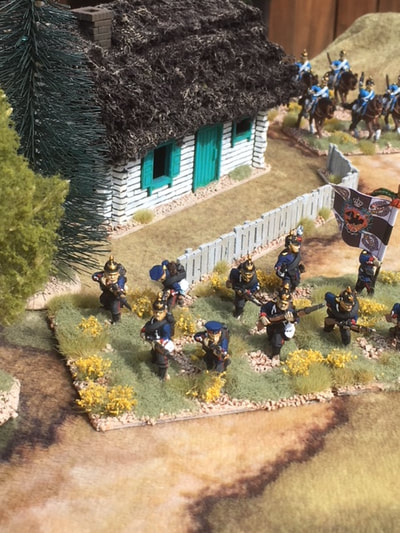
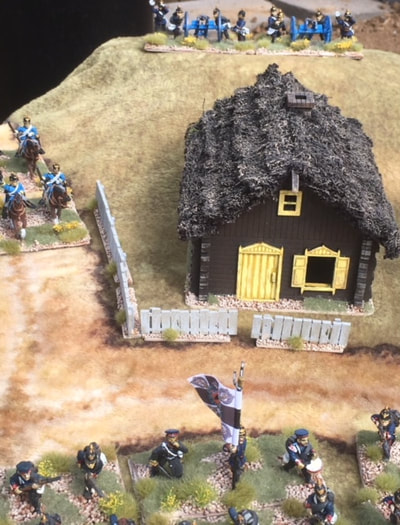
Dave M.'s Prussians defending an Eastern village.
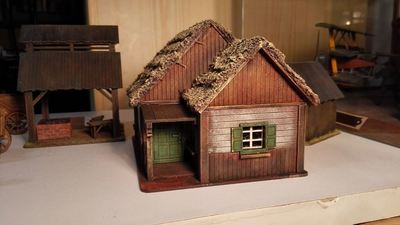
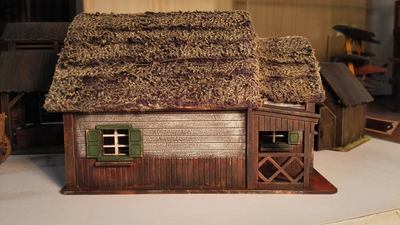
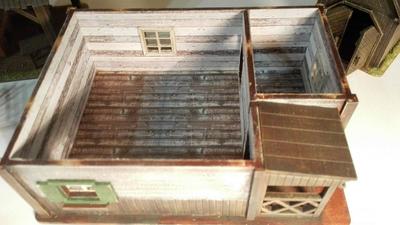
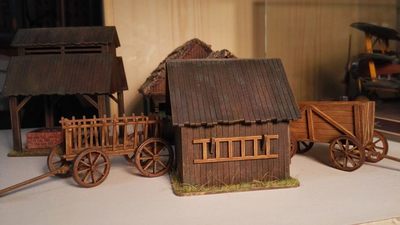
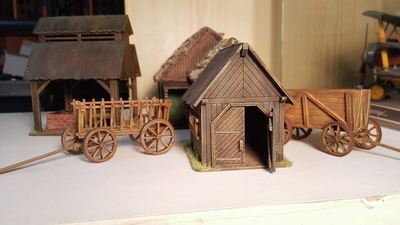
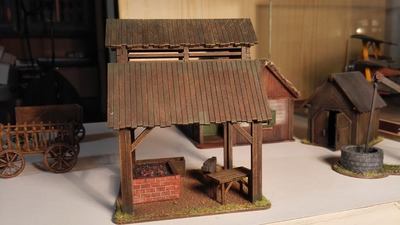
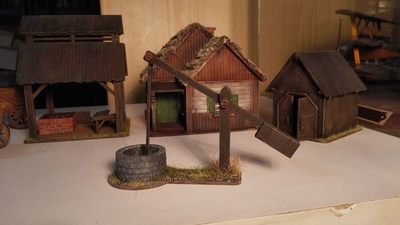
Michal P. from the Czech Republic had a go at some of the Russian Village kits. I love what he did!
Have a look at The Demo Gamers Blog to see their version of the 20th Century Train Station:
https://thedemogamers.blogspot.com.au/2017/08/now-that-is-what-i-call-railway-station.html
https://thedemogamers.blogspot.com.au/2017/08/now-that-is-what-i-call-railway-station.html
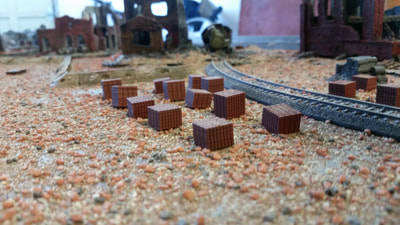
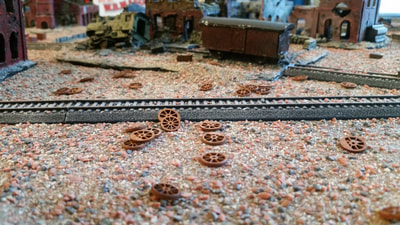
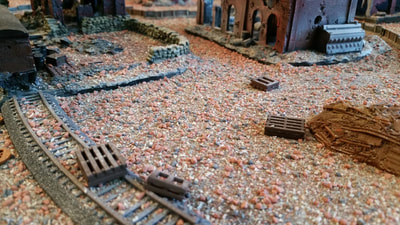
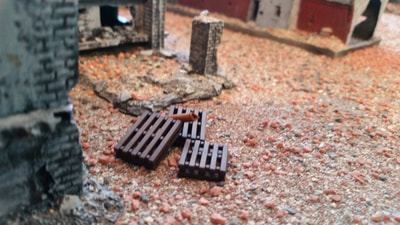
15mm scatter terrain (brick stacks, train wheels & freight pallets) on Jake S.'s Stalingrad table!
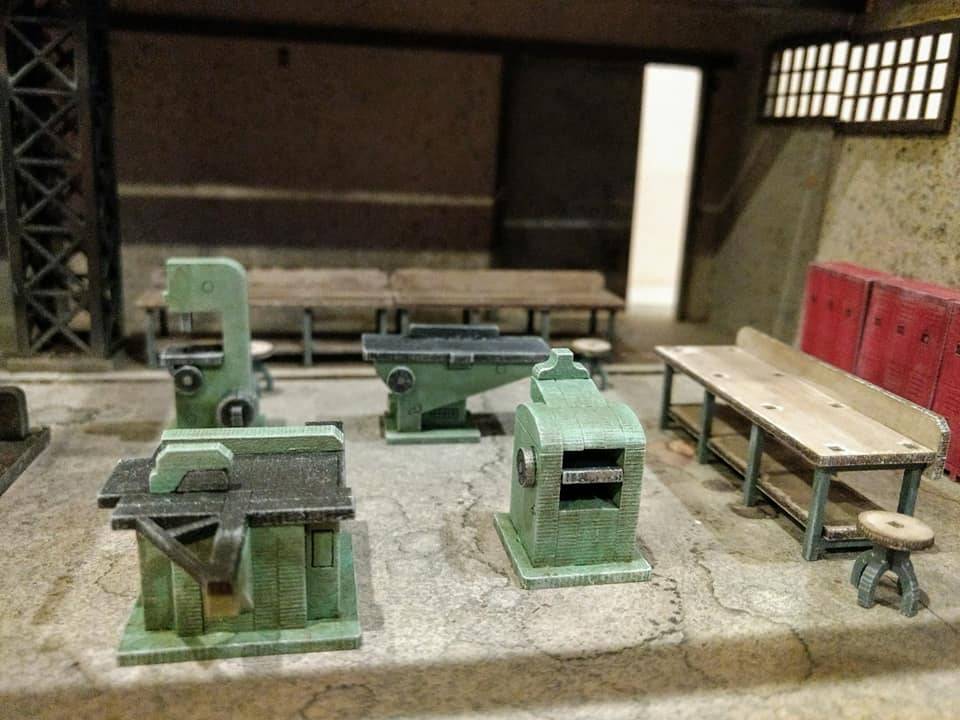
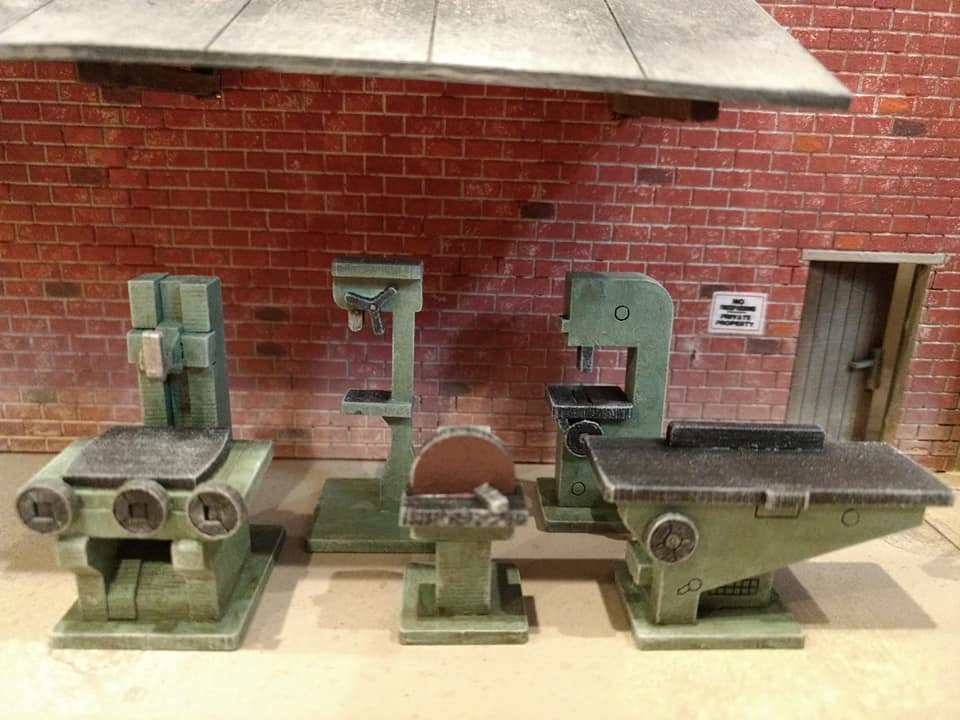
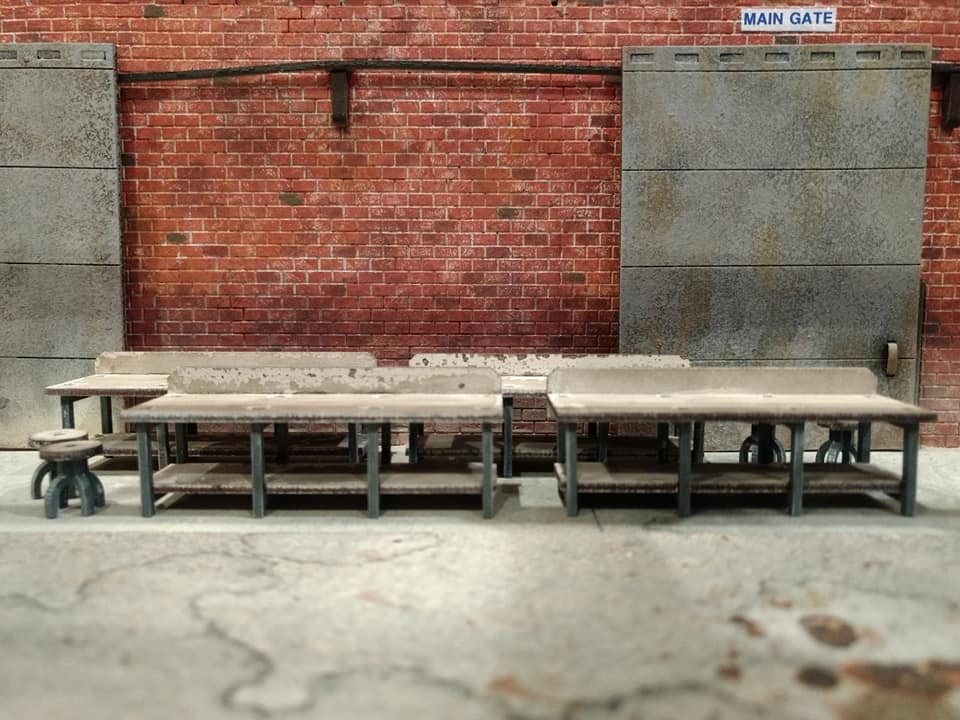
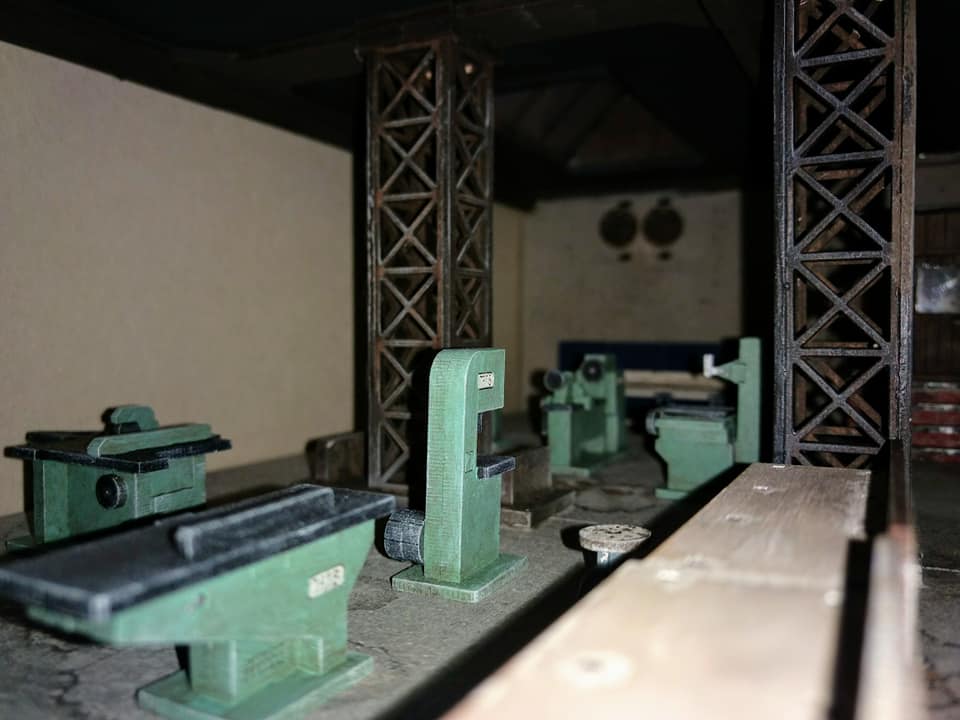
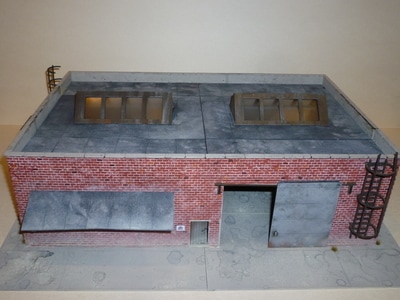
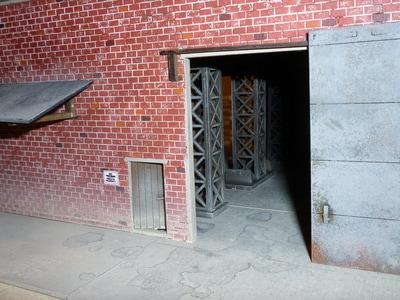
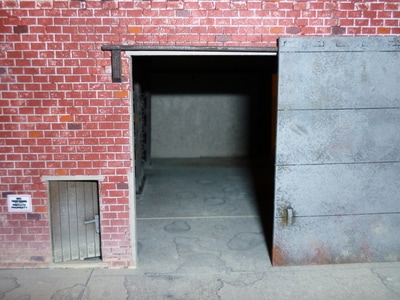
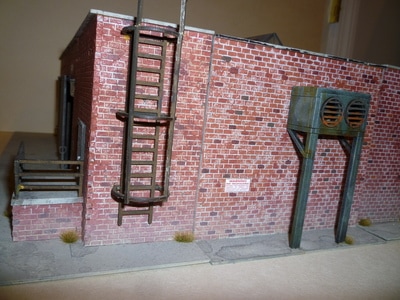
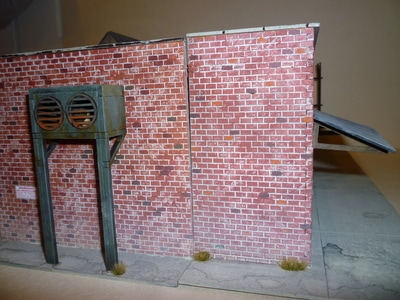
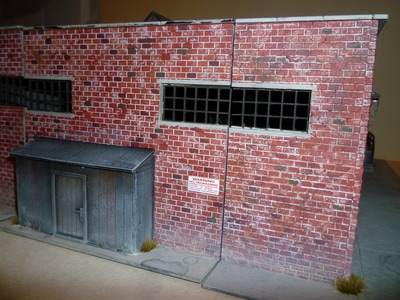
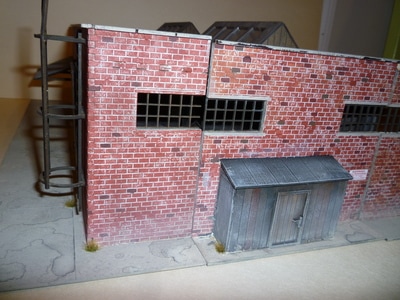
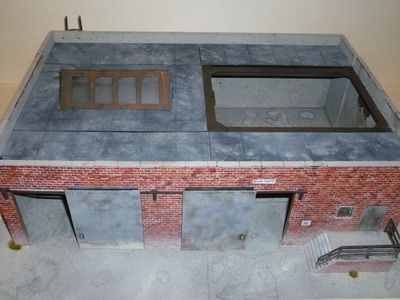
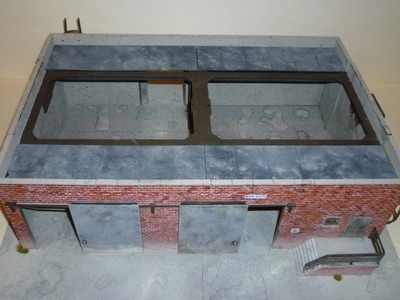
Modular Warehouse (Front, Middle and Back Module) built and painted by Tony R. Fantastic paint job on the bricks, metal pieces and the concrete base!
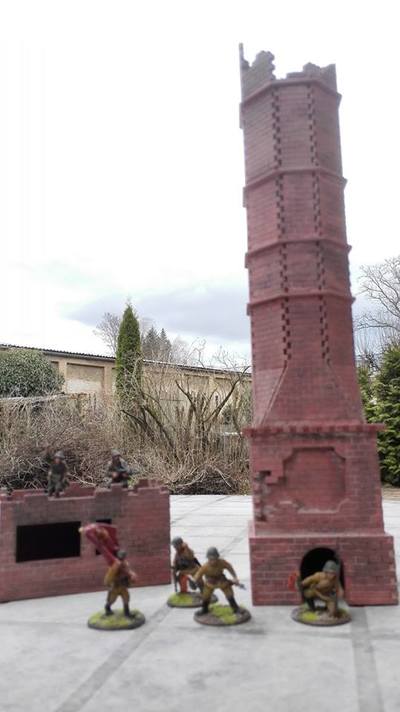
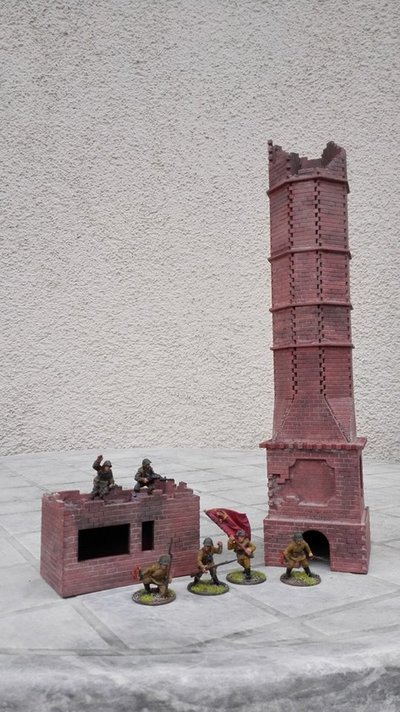
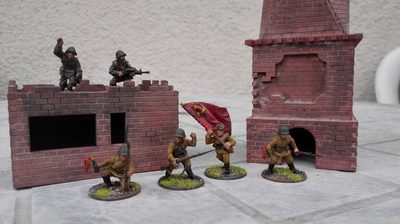
Grudinin's Mill Chimney built and painted by Michal P. from the Czech Republic. Defend Russia, comrades!
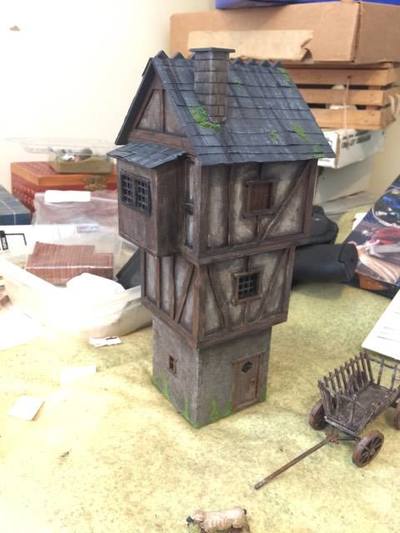
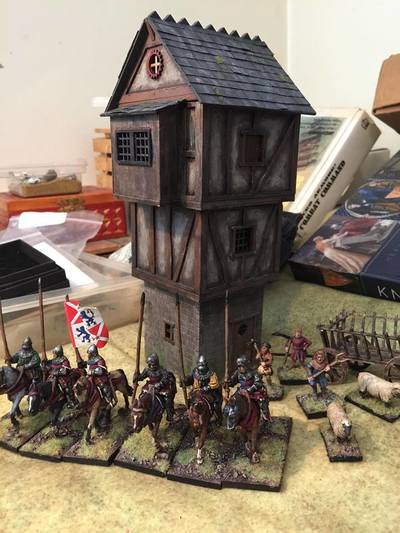
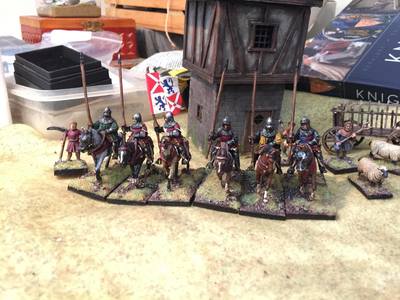
The Tower House built and painted by Mark H. - nice medieval figures, too!
The Wizard's Tower and the Stables - Main Building.
Photos provided by Mauro M., Italy
Photos provided by Mauro M., Italy
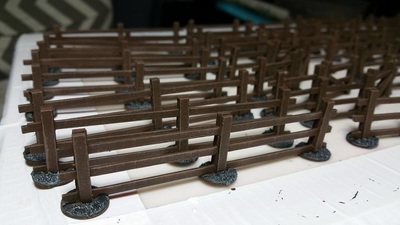
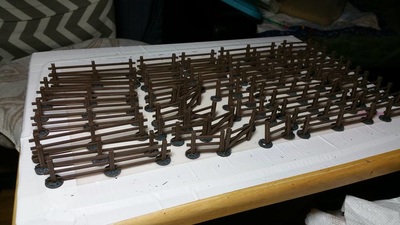
Rail Fence.
Photos provided by Brian E.
Photos provided by Brian E.
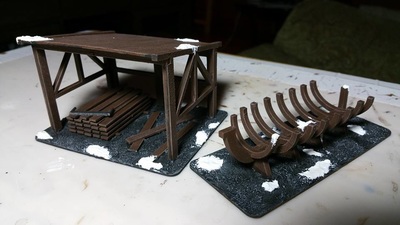
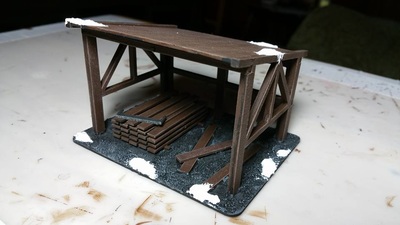
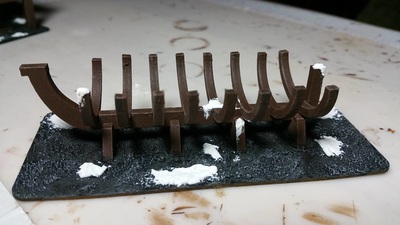
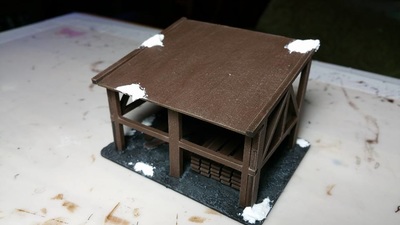
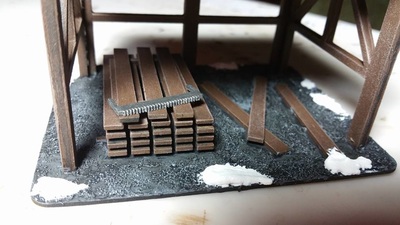
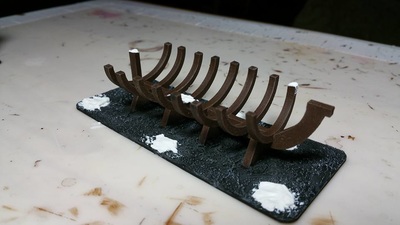
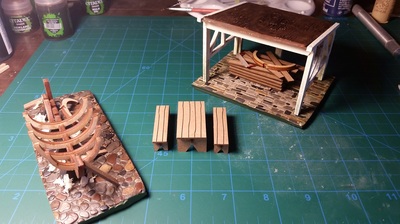
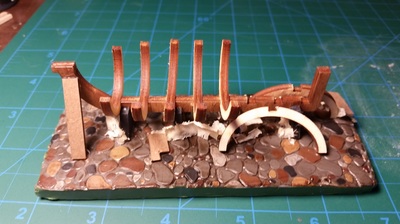
Another nice example of the Boatbuilder's Shed.
Photos provided by Brian E.
Photos provided by Brian E.
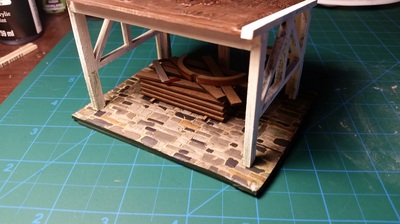
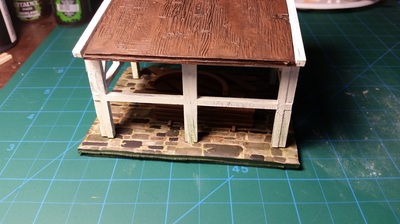
Experimenting with patterns rolled in clay for the bases and the shed roof. Nice!
Photos and idea provided by Alex N.
Photos and idea provided by Alex N.
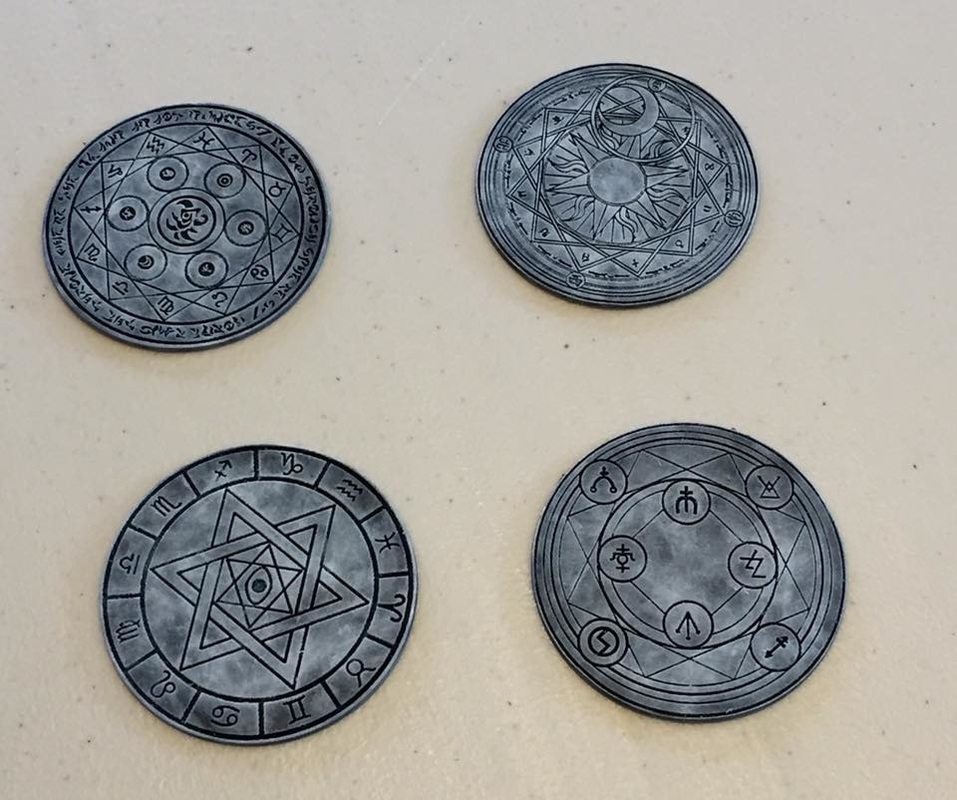
Here is a picture of the painted Transportation Discs - Wizard's Edition.
The nice effect was achieved by the makeup applicator tip mentioned earlier.
Photo provided by Jonathan S.
The nice effect was achieved by the makeup applicator tip mentioned earlier.
Photo provided by Jonathan S.
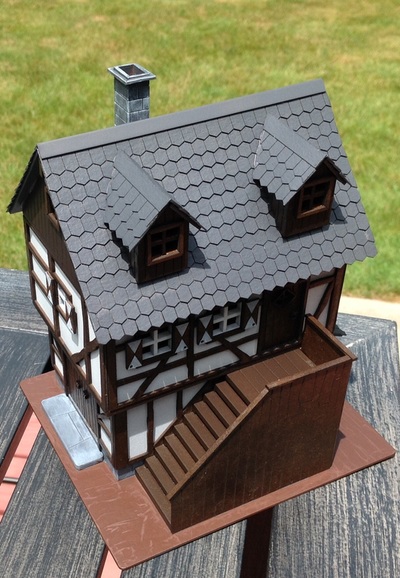
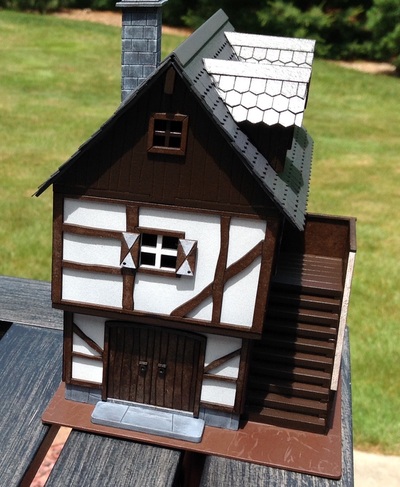
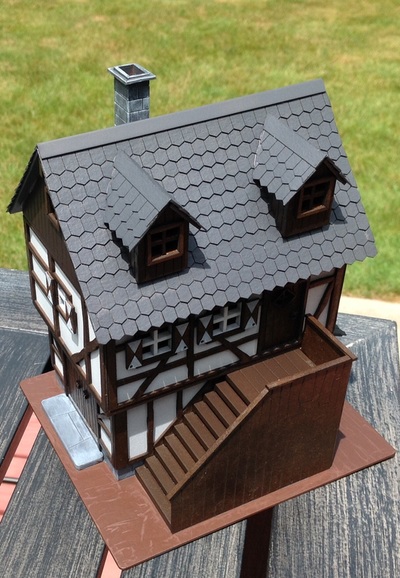
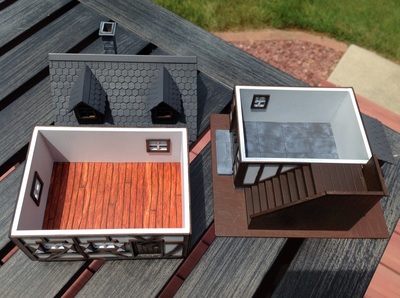
Town House # 1 built and painted by Bob R. using spray paint. Details were glued on afterward. Wood floor was stained.
More roofing tips by Bob R.:
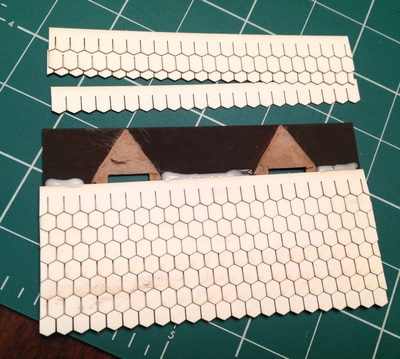
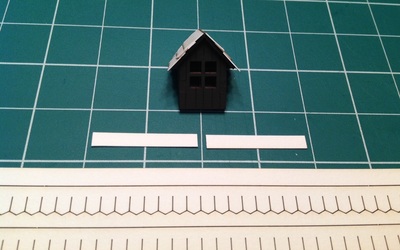
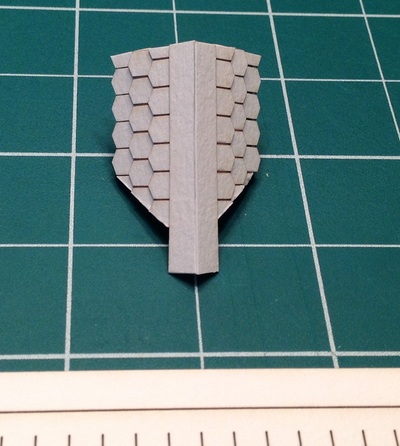
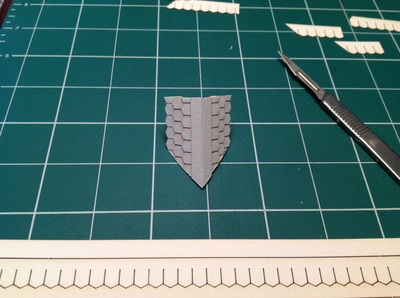
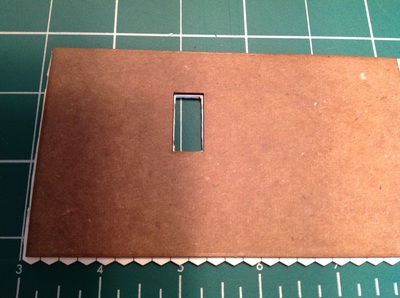
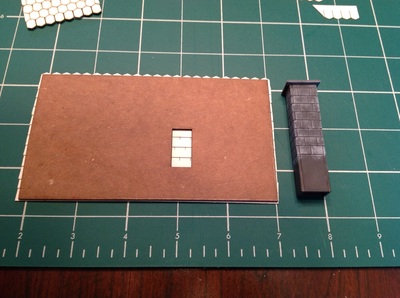
I thought I would be a miniature roofer, and cut and attach shingles after the roof was assembled just like the real thing. Unfortunately, sizing the small pieces was very challenging, so I tore the dormers off, and applied full length strips on the roof. You can cut straight edges after you are done. No need to measure and cut. On the chimney side roof, it was easy to scribe through the strips to make the right size hole for the chimney. While on the dormer side, I didn't think I had to cut out holes for the dormers and just glued them on to the shingles. Make it easy for yourself on roofing dormers, just glue oversized shingle strips on, and then cut them straight when your finished. Joerg's shingle strips are very forgiving to the modeler. To cap Joerg's roofs, just cut strips from his shingle sheets found at the top and bottom of the sheet. I used two sheets of shingles to complete the roof.
I thought I would be a miniature roofer, and cut and attach shingles after the roof was assembled just like the real thing. Unfortunately, sizing the small pieces was very challenging, so I tore the dormers off, and applied full length strips on the roof. You can cut straight edges after you are done. No need to measure and cut. On the chimney side roof, it was easy to scribe through the strips to make the right size hole for the chimney. While on the dormer side, I didn't think I had to cut out holes for the dormers and just glued them on to the shingles. Make it easy for yourself on roofing dormers, just glue oversized shingle strips on, and then cut them straight when your finished. Joerg's shingle strips are very forgiving to the modeler. To cap Joerg's roofs, just cut strips from his shingle sheets found at the top and bottom of the sheet. I used two sheets of shingles to complete the roof.
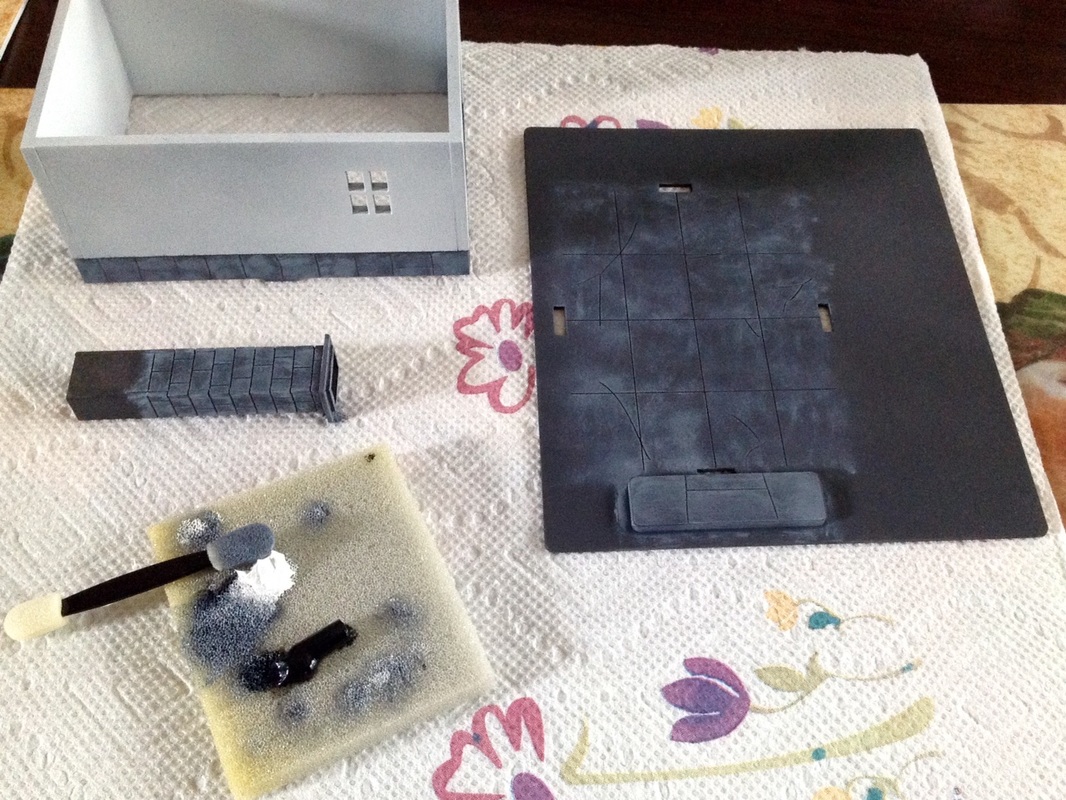
To get an easy stone look on Joerg's kits, spray a dark gray primer, then dry brush a lighter grey using a foam makeup brush. The effect is shown here on Joerg's Townhouse model, specifically the chimney, ground floor trim, and the stone floor.
Photo and tip provided by Bob R.
Photo and tip provided by Bob R.
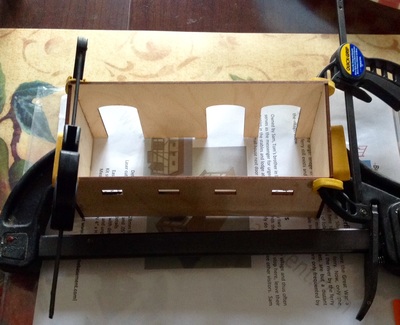
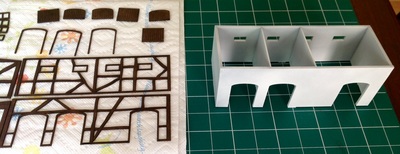
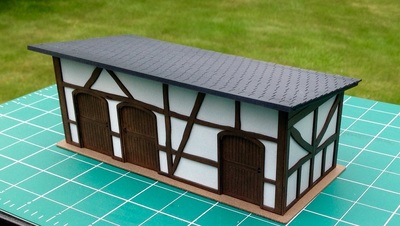
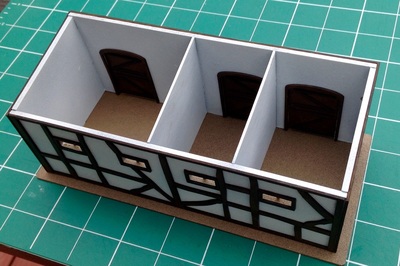
Another reason to appreciate Joerg's designs is that they enable sub assembly building so that you can easily paint the pieces prior to final assembly. I wanted the European scheme of white with dark timbers, and was able to spray the structures white while staining the timber pieces easily with Minwax Walnut stain.
The shingling was definitely worth doing. I did add a piece of edging from Evergreen Plastics to cover the top front edge. It is .125 angle available at this link. http://www.evergreenscalemodels.com/Shapes.htm
Photos and tips provided by Bob R.
The shingling was definitely worth doing. I did add a piece of edging from Evergreen Plastics to cover the top front edge. It is .125 angle available at this link. http://www.evergreenscalemodels.com/Shapes.htm
Photos and tips provided by Bob R.
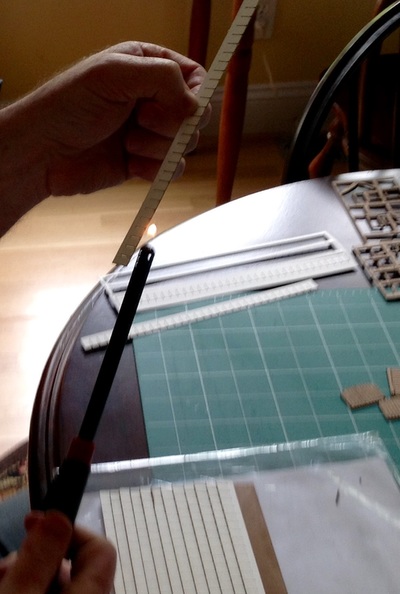
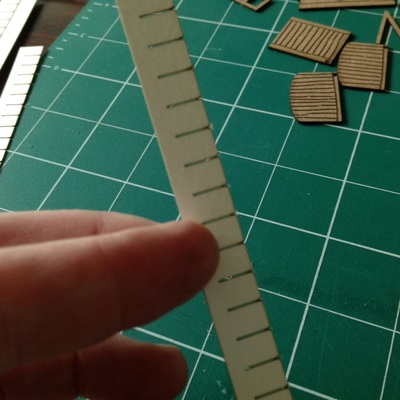
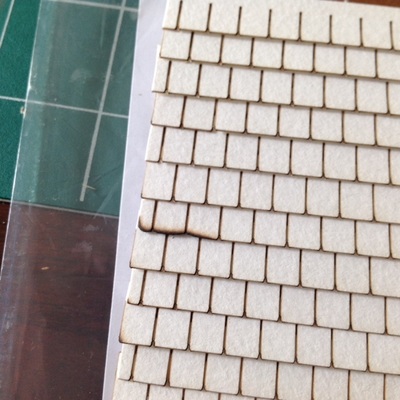
If you want to crisp up the edges of roof shingles, hold a lighter flame to the edge. It burns off the "fuzzies" you get sometimes. And if you don't want perfect edges, you can't be more aggressive with the flame.
Photos and tips provided by Bob R. - Please use caution when applying this technique!
Photos and tips provided by Bob R. - Please use caution when applying this technique!
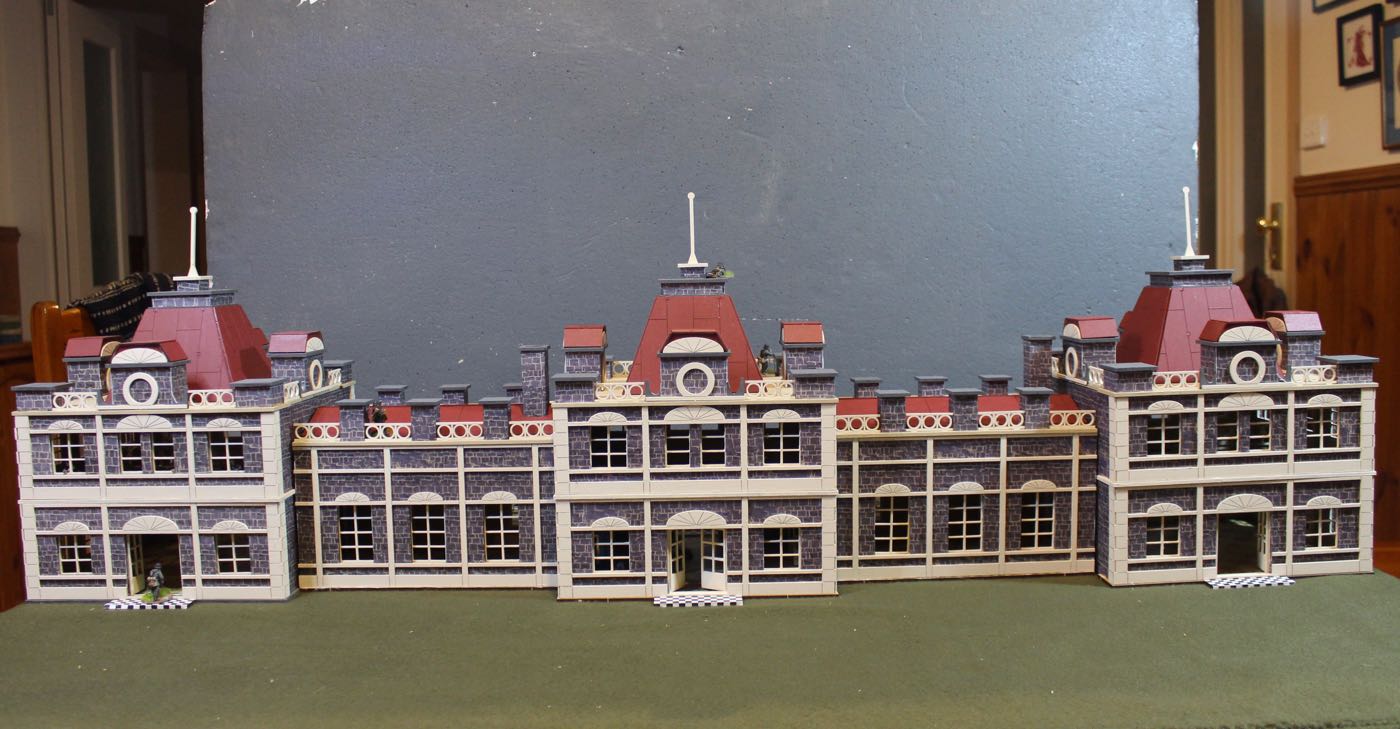
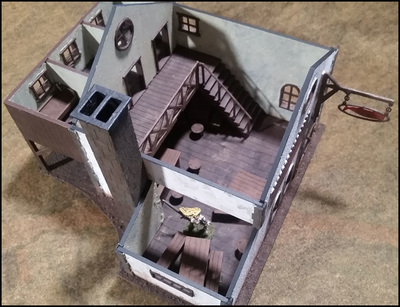
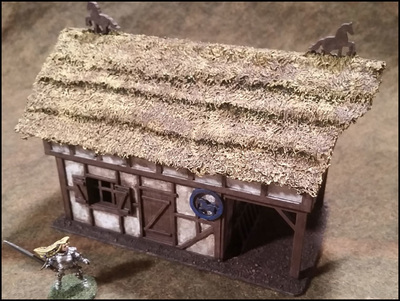
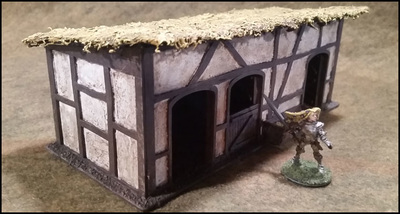
Some random pictures of my finished and painted kits:
You have enjoyed building my kits? And maybe you have some tips on how you did it and want to share?
Just send an email to [email protected] and they will be published here!
Just send an email to [email protected] and they will be published here!
